Old Fashioned Fudge
A Timeless Classic Made the Traditional Way
There are desserts that come and go with trends, and then there are recipes that stand the test of time.
Old Fashioned Fudge belongs firmly in the second category. Long before microwave shortcuts,
marshmallow fluff, or condensed milk versions existed, fudge was made patiently on the stovetop with simple pantry staples,
a wooden spoon, and a little bit of know-how.
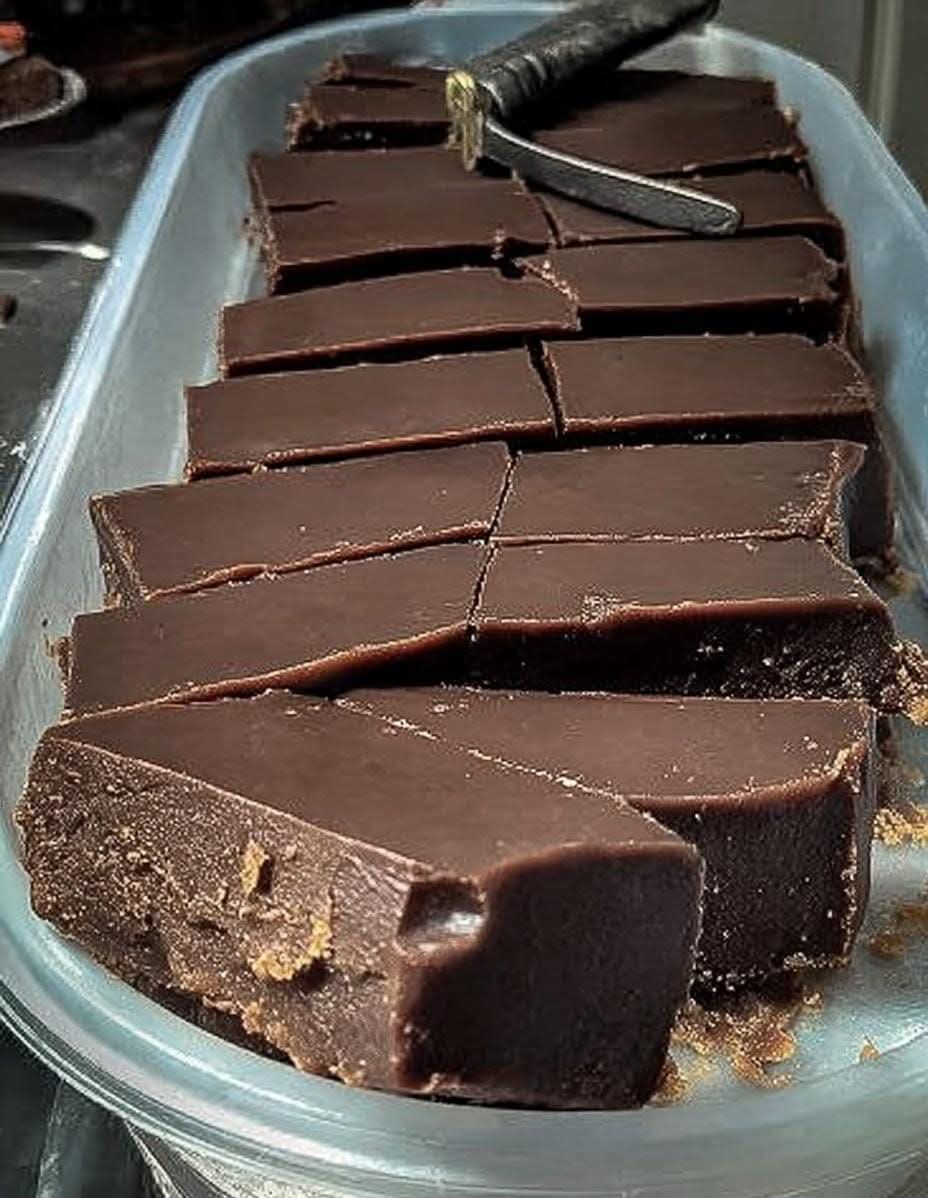
This recipe is the real thing—the kind your grandmother or great-grandmother likely made during the holidays,
poured into a square pan, and cut into neat little cubes to share with family and friends.
It’s rich without being overwhelming, creamy yet firm, and deeply chocolatey with a pure cocoa flavor.
If you’ve ever wanted to learn how to make true old fashioned fudge from scratch, this guide walks you through
every step in detail, explains the science behind the process, and gives you all the tips you need to succeed—even if it’s your first time.
What Makes Old Fashioned Fudge Different?
Old fashioned fudge is fundamentally different from many modern recipes. Instead of relying on shortcuts,
it uses controlled heat and careful timing to achieve its signature texture.
- No condensed milk
- No marshmallow fluff
- No microwave
- No shortcuts
Instead, it relies on a precise balance of sugar crystallization, fat, and temperature. When done correctly,
the result is smooth, creamy fudge that melts in your mouth rather than crumbling or becoming grainy.
Why This Recipe Works
This recipe uses a classic ratio of sugar, cocoa powder, milk, butter, and vanilla.
Cooking the mixture to the correct temperature allows the sugar to dissolve fully, while controlled cooling
prevents unwanted large sugar crystals from forming.
Beating the fudge at the right moment creates millions of tiny crystals, which is what gives fudge its
signature creamy texture.
Once you understand this process, you’ll realize that old fashioned fudge is not difficult—it simply requires patience and attention.
Ingredients & Their Roles
2 cups white sugar
Sugar is the backbone of fudge. It dissolves during cooking and recrystallizes during cooling,
forming the structure of the finished candy.
½ cup unsweetened cocoa powder
Cocoa powder provides deep chocolate flavor without additional fat or sweetness.
Using unsweetened cocoa allows precise control over the final taste.
1 cup whole milk
Milk adds moisture, richness, and proteins that help control crystallization.
Whole milk is preferred for the creamiest texture.
4 tablespoons unsalted butter
Butter adds richness and helps prevent large sugar crystals from forming.
Using unsalted butter allows better control over flavor.
1 teaspoon vanilla extract
Vanilla enhances the chocolate flavor and adds warmth and depth to the fudge.
Equipment You’ll Need
- Medium heavy-bottomed saucepan
- Wooden spoon
- Candy thermometer (recommended)
- 8-inch square baking pan
- Measuring cups and spoons
Step-by-Step Instructions
Step 1: Prepare Your Pan
Grease an 8-inch square baking pan thoroughly with butter or nonstick spray.
Set aside so it’s ready when the fudge is finished.
Step 2: Combine Dry Ingredients
In a medium saucepan, combine the sugar and cocoa powder.
Whisk or stir to evenly distribute the cocoa throughout the sugar.
Step 3: Add Milk
Pour in the milk and stir until fully blended.
Make sure there are no dry pockets of cocoa or sugar.
Step 4: Bring to a Boil
Place the saucepan over medium-high heat.
Stir constantly until the mixture comes to a full rolling boil.
Once boiling, reduce the heat slightly to maintain a steady simmer.
Step 5: Cook to Soft-Ball Stage
Insert a candy thermometer into the pan, making sure it does not touch the bottom.
Allow the mixture to simmer without stirring until it reaches 238°F (114°C).
This typically takes about 10 minutes.
Soft-Ball Test (If You Don’t Have a Thermometer)
Drop a small spoonful of the hot mixture into a bowl of cold water.
If it forms a soft ball that flattens when pressed, it is ready.
Step 6: Cool Undisturbed
Remove the saucepan from heat and allow it to cool undisturbed until it reaches 110°F (43°C).
This can take 50–70 minutes.
Do not stir during this stage. Stirring too early will cause grainy fudge.
Step 7: Add Butter and Vanilla
Once cooled, add the butter and vanilla extract to the pan.
Step 8: Beat the Fudge
Using a wooden spoon, beat the mixture vigorously until the butter is fully incorporated and the fudge thickens.
The mixture will lose its glossy sheen and become matte.
This step is critical. Under-beating results in soft fudge; over-beating makes it crumbly.
Step 9: Pour and Set
Quickly pour the fudge into the prepared pan and spread evenly.
Allow it to cool completely at room temperature or refrigerate for faster setting.
Step 10: Cut and Serve
Once fully set, cut into 1-inch squares and enjoy.
Common Mistakes and How to Avoid Them
- Grainy Fudge: Stirring too early or cooking past soft-ball stage.
- Too Soft: Not cooking long enough or under-beating.
- Crumbly: Over-beating or overcooking.
Pro Tips for Perfect Old Fashioned Fudge
- Use a heavy-bottomed saucepan to prevent scorching.
- Always measure ingredients accurately.
- Humidity can affect fudge—dry days are best.
- Have everything ready before you start.
Variations
- Nut Fudge: Fold in chopped walnuts or pecans before pouring.
- Spiced Fudge: Add a pinch of cinnamon or espresso powder.
- Vanilla Fudge: Omit cocoa and add extra vanilla.
Storage & Shelf Life
Store fudge in an airtight container at room temperature for up to 1 week,
or refrigerate for up to 3 weeks.
Fudge also freezes well for up to 3 months.
Why Old Fashioned Fudge Is Still Loved Today
There’s something deeply satisfying about mastering a recipe that has been passed down through generations.
Old fashioned fudge represents patience, care, and craftsmanship—qualities that never go out of style.
Each bite carries nostalgia, warmth, and the unmistakable taste of real homemade candy.
Final Thoughts
This Old Fashioned Fudge recipe is more than just a dessert—it’s a piece of culinary history.
With simple ingredients and careful technique, you can create a treat that rivals any candy shop.
Once you master this method, you’ll understand why this recipe has endured for decades—and why it will continue to be cherished for generations to come.
Cut into squares, share with loved ones, and savor every bite of this timeless classic.