Chocolate Pecan Turtle Clusters – A Classic Homemade Candy You’ll Fall in Love With
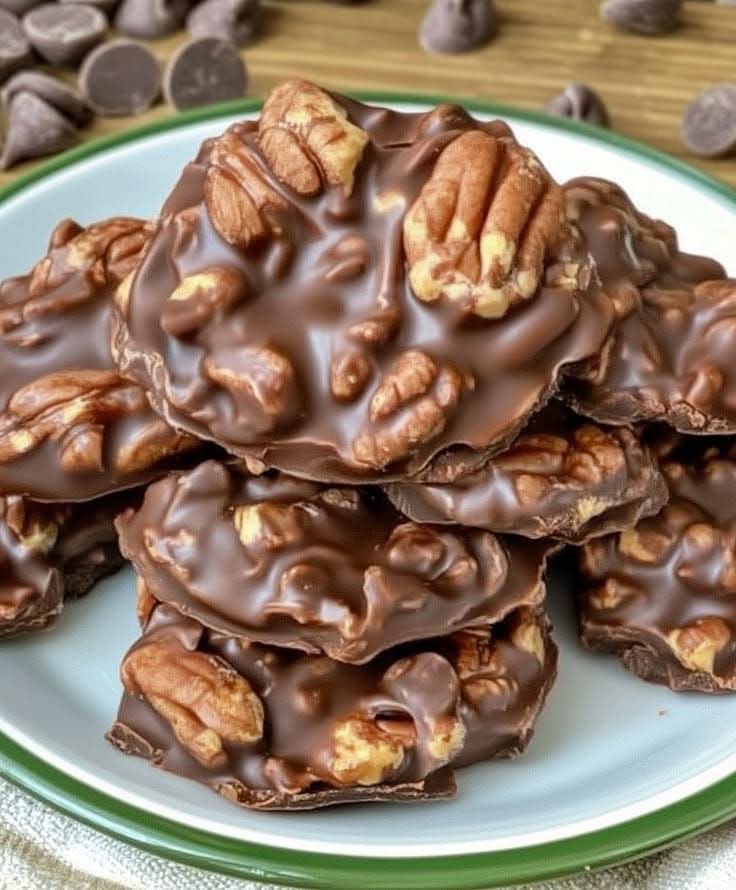
Chocolate Pecan Turtle Clusters are more than just a sweet treat — they are a timeless confection that blends nostalgia, comfort, and indulgence into every bite. With their irresistible combination of toasted pecans, rich homemade caramel, and smooth milk chocolate, these clusters offer the perfect balance of crunchy, chewy, and creamy textures.
Whether you’re making them for the holidays, gifting them to loved ones, or simply treating yourself, this recipe delivers bakery-quality results with surprisingly simple steps. These candies feel special enough for celebrations but are easy enough to enjoy anytime.
Why You’ll Love This Recipe
- No candy thermometer required
- Beginner-friendly and stress-free
- Perfect for gifts, parties, and holidays
- Customizable with different nuts or chocolates
- Rich flavor with simple ingredients
The Charm of Homemade Turtle Clusters
What makes turtle clusters so special is their handcrafted charm. Unlike store-bought candies, homemade clusters allow you to control the quality of ingredients and customize the flavor to your liking. The pecans are toasted to enhance their natural nuttiness, the caramel is cooked slowly for deep buttery flavor, and the chocolate is melted to a glossy, velvety finish that coats each cluster beautifully.
This recipe is designed to be approachable for beginners while still satisfying experienced home cooks. Best of all, these Chocolate Pecan Turtle Clusters come together quickly, making them perfect for busy schedules, last-minute gifts, or cozy weekend baking sessions.
Ingredients and Their Role
- 2½ cups pecans — Toasted for rich nutty flavor and crunch.
- ½ cup salted butter — Provides richness and silky caramel texture.
- 1 cup brown sugar — Adds sweetness and deep molasses notes.
- ½ cup light corn syrup — Prevents crystallization for smooth caramel.
- 7 oz sweetened condensed milk — Creates creamy, chewy caramel.
- ½ tsp vanilla extract — Enhances and balances sweetness.
- 12 oz milk chocolate chips — Smooth coating for the clusters.
- ½ tsp shortening — Keeps melted chocolate glossy and fluid.
Step-by-Step Instructions
Step 1: Toast the Pecans
Place the pecans in a dry skillet over medium heat. Stir frequently for 5–7 minutes until fragrant and lightly browned. Transfer to a plate and allow to cool completely.
Step 2: Make the Caramel
In a medium saucepan, combine butter, brown sugar, corn syrup, and sweetened condensed milk. Cook over medium heat, stirring constantly until smooth and gently bubbling. Continue cooking for 5–7 minutes until thickened. Remove from heat and stir in vanilla.
Step 3: Combine Pecans and Caramel
Fold toasted pecans into the caramel until fully coated. Spoon small clusters onto parchment-lined baking sheets and allow them to set slightly.
Step 4: Melt the Chocolate
Melt chocolate chips with shortening using a double boiler or microwave in 20–30 second intervals, stirring often until smooth.
Step 5: Coat the Clusters
Drizzle or spoon melted chocolate over each cluster, covering the caramel and pecans. Let the chocolate set at room temperature or refrigerate briefly.
Storage and Gifting Tips
- Store in an airtight container at room temperature for up to 1 week.
- Refrigerate for up to 2 weeks for firmer texture.
- Freeze up to 3 months for long-term storage.
- Wrap in parchment and place in decorative tins for gifting.
Serving Ideas
Serve turtle clusters with coffee, espresso, or hot cocoa. They’re wonderful on dessert platters, cookie trays, or as elegant after-dinner treats.
Final Thoughts
Chocolate Pecan Turtle Clusters prove that simple ingredients can create unforgettable flavor. The contrast of crunchy pecans, chewy caramel, and smooth chocolate makes each bite satisfying and indulgent. Whether you’re gifting, celebrating, or simply enjoying a sweet moment for yourself, this recipe delivers joy every time.
Once you make them, these classic candies are sure to become a treasured favorite in your kitchen.