Gourmet Chocolate Peanut Butter Cups Recipe – The Ultimate Indulgent Dessert
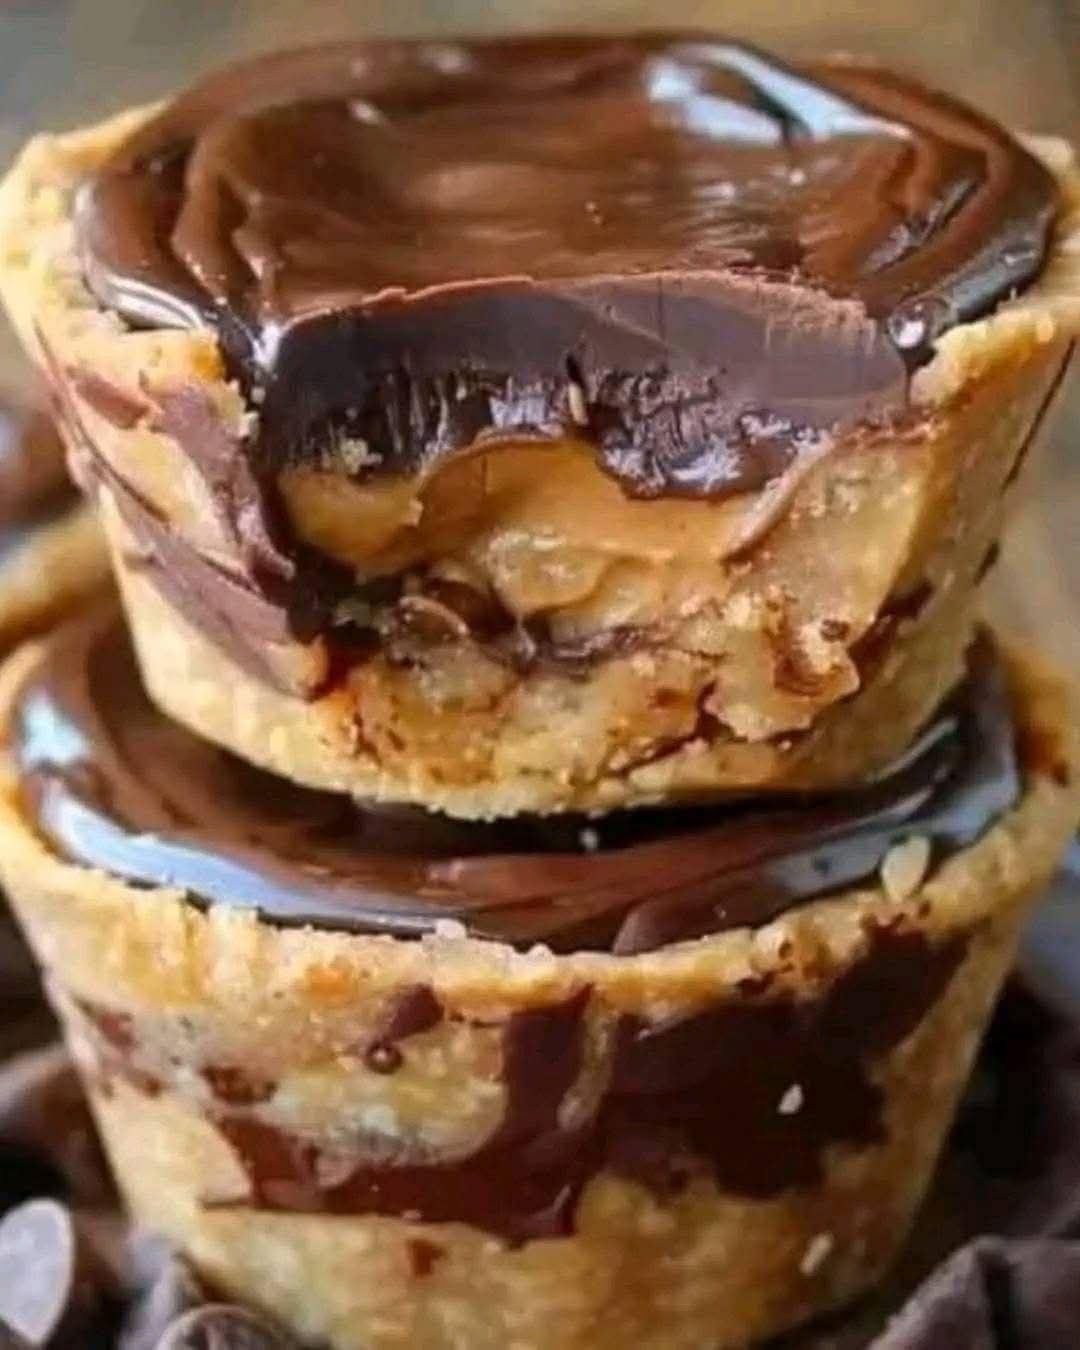
Gourmet Chocolate Peanut Butter Cups combine two timeless favorites — rich, velvety chocolate and
creamy, nutty peanut butter. These homemade cups offer the perfect harmony of sweetness and saltiness,
smoothness and crunch. Whether you’re making them for a holiday, as a beautiful edible gift, or simply
to satisfy a late-night craving, this recipe delivers pure luxury in every single bite.
Forget store-bought candy — once you experience the aroma, texture, and deep flavor of homemade
peanut butter cups, you’ll never go back. Plus, you control the ingredients, making these treats as
gourmet and natural as you want.
Why You’ll Love This Recipe
- Perfect Flavor Balance: Slightly bitter chocolate meets creamy, sweet peanut butter.
- Simple Yet Elegant: No baking required, but looks like gourmet chocolate shop candy.
- Customizable: Add sea salt, nuts, caramel, or use different types of chocolate.
- Kid-Friendly & Adult-Approved: Everyone loves the chocolate + peanut butter combo!
- Great for Gifting: Perfect holiday or birthday treat packaged in pretty boxes.
Ingredients & Their Roles
Each ingredient plays a role in creating the perfect texture and taste:
| Ingredient | Purpose |
|---|---|
| 2 cups chocolate chips (milk, dark, or semi-sweet) | Forms the top and bottom layers of the cups. |
| 1 oz coconut oil | Helps chocolate melt smoothly and set with a glossy finish. |
| 1 cup creamy peanut butter | Creates the rich, nutty filling. |
| ¼ cup powdered sugar | Sweetens and softens the peanut butter mixture. |
| 1 teaspoon vanilla extract | Adds depth and warmth to the filling. |
| Sea salt (optional) | Enhances the chocolate and peanut butter flavors. |
Step-by-Step Instructions
Step 1: Prepare Your Mold
Line a muffin tin with paper liners or use silicone molds for easier removal.
Step 2: Melt the Chocolate
Heat chocolate chips and coconut oil in 20-second microwave intervals until smooth, or melt using a double boiler.
Step 3: Create the Chocolate Base
Spoon 1 teaspoon of melted chocolate into each liner and freeze for 10 minutes.
Step 4: Prepare the Peanut Butter Filling
Mix peanut butter, powdered sugar, and vanilla until creamy. Add a splash of melted butter if needed.
Step 5: Assemble the Layers
Add a teaspoon of peanut butter mixture onto each hardened chocolate base.
Step 6: Seal with More Chocolate
Cover the filling with chocolate, tapping the tray gently to remove bubbles.
Step 7: Chill Until Set
Refrigerate for 30 minutes or freeze for 15 minutes. Peel off the liners and enjoy!
Pro Tips for Perfect Peanut Butter Cups
- Use high-quality chocolate for gourmet flavor.
- Don’t skip the coconut oil — it improves texture and shine.
- Adjust powdered sugar depending on sweetness of your peanut butter.
- Add extras like crushed pretzels, espresso powder, or cinnamon for unique versions.
- Use natural peanut butter for a richer, healthier taste.
Creative Variations
- White Chocolate Cups: Swap dark chocolate for white chocolate.
- Salted Caramel Cups: Add a layer of caramel between chocolate and peanut butter.
- Crunchy Cups: Use crunchy peanut butter or add chopped nuts.
- Double Chocolate: Add cocoa powder to the peanut butter filling.
- Nut Butter Swap: Try almond or cashew butter for a flavor twist.
🍽️ Serving Suggestions
These gourmet treats shine on:
- Holiday dessert trays
- Gift boxes tied with ribbons
- Afternoon coffee breaks
- Ice cream or brownie toppings
- As a decadent late-night snack
Storage & Shelf Life
Store in an airtight container:
- Refrigerator: 2 weeks
- Freezer: Up to 3 months
Let frozen cups soften 10 minutes before eating.
Healthier Options
- Use 70% dark chocolate for antioxidant benefits.
- Swap powdered sugar with monk fruit sweetener or stevia.
- Choose natural peanut butter with no added oils or sugar.