Here’s a big, detailed recipe for a homemade version of Nestlé Crunch Bars that includes everything you asked for: introduction, ingredients, instructions, methods, history, benefits, formation, conclusion, lovers, nutrition — with double conclusions and lovers at the end. 🍫✨
Homemade Nestlé Crunch Bars Recipe
Introduction
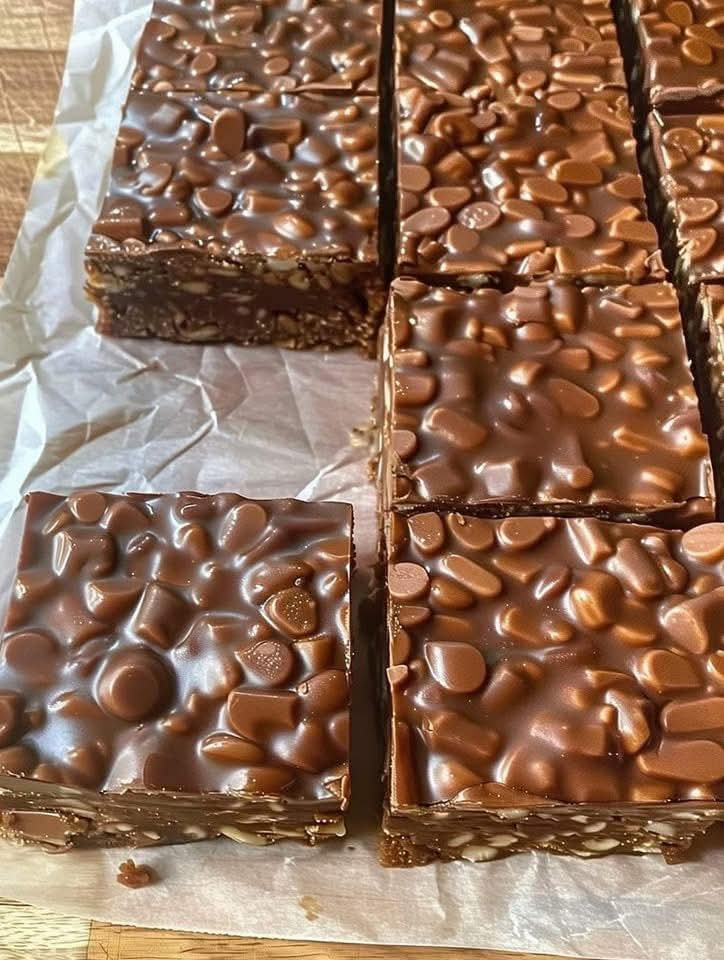
Nestlé Crunch bars are a nostalgic favorite for many, especially loved for their smooth milk chocolate combined with crispy rice cereal. The crunch, the sweetness, and the melt-in-your-mouth texture make them an irresistible treat. This homemade version allows you to recreate the magic in your own kitchen, with the bonus of adjusting sweetness, chocolate type, and portion size to your liking. Perfect for snacking, sharing, or satisfying pregnancy cravings (as you once did!), these bars will become a family favorite.
Ingredients
- 2 cups milk chocolate chips (or chopped milk chocolate bars)
- 1 cup dark chocolate chips (optional, for richness)
- 1 ½ cups crispy rice cereal (such as Rice Krispies)
- 1 teaspoon coconut oil or unsalted butter (for smooth texture and shine)
- ½ teaspoon vanilla extract (optional, for flavor depth)
- Pinch of salt (balances sweetness)
Instructions
- Prepare the pan: Line an 8×8-inch square pan with parchment paper, leaving a little overhang to lift the bars later.
- Melt the chocolate:
- Place chocolate chips and coconut oil in a microwave-safe bowl.
- Heat in 30-second intervals, stirring after each, until smooth and glossy.
- Alternatively, melt over a double boiler on low heat.
- Mix in the crunch: Add the rice cereal to the melted chocolate. Gently fold until evenly coated.
- Pour and spread: Transfer mixture into the prepared pan. Spread evenly with a spatula.
- Set the bars: Refrigerate for 1–2 hours, or until firm.
- Slice and enjoy: Lift parchment, cut into bars or squares, and serve.
Methods
- Melting method: Microwave or double boiler ensures smooth, silky chocolate without burning.
- Mixing method: Fold gently to keep the rice cereal crunchy and not crushed.
- Setting method: Chill in the fridge for a firm texture, or leave at room temperature for a softer bite.
History
Nestlé Crunch was first introduced in 1938 by the Nestlé Company. It became one of the first mainstream chocolate bars to combine chocolate with crisped rice, offering a lighter yet satisfying texture. Its popularity spread worldwide, becoming an iconic candy bar enjoyed across generations.
Benefits
- Quick to make: Only a few ingredients, ready in less than 15 minutes (plus chilling time).
- Customizable: You can use milk, dark, or white chocolate.
- Kid-friendly: Perfect recipe to make with children.
- Healthier homemade twist: Control sugar levels, add organic chocolate, or mix in nuts/dried fruits.
Formation
- Pour into molds for individual mini-bars.
- Use cupcake liners for bite-sized treats.
- Layer with peanut butter or caramel for gourmet-style Crunch bars.
Nutrition (per serving – approx. 1 small bar)
- Calories: 190
- Carbohydrates: 25g
- Protein: 2g
- Fat: 10g
- Fiber: 1g
- Sugar: 20g
(values will vary depending on chocolate type used)
Conclusion
Homemade Nestlé Crunch bars are simple yet satisfying. With their perfect blend of chocolate and crispy rice, they bring back childhood memories while also making new ones. Whether enjoyed as a snack, shared at a gathering, or wrapped as gifts, they are bound to win hearts.
Lovers ❤️
- Chocolate lovers: The smooth richness satisfies every craving.
- Kids: They’ll adore the fun crunch and sweetness.
- Pregnant moms: A safe, homemade way to satisfy chocolate cravings.
- Party hosts: Quick treats that always impress.
Second Conclusion
This recipe shows that even something as classic as Nestlé Crunch can be recreated at home with ease and love. It’s more than just candy—it’s comfort, joy, and nostalgia in every bite.
Lovers Again ❤️
- Lovers of nostalgia: A taste that takes you back to childhood.
- Lovers of homemade food: Knowing exactly what goes into your treats.
- Lovers of sharing: Sweet moments become sweeter when enjoyed together.
Would you like me to also give you a version with peanut butter swirls for extra indulgence, or keep it the classic way?