Here’s a full, detailed write-up for Butterfinger Balls that includes everything you asked for:
🍫 Butterfinger Balls Recipe
Introduction
Butterfinger Balls are one of those indulgent no-bake treats that bring joy with every bite. Perfectly creamy on the inside with a hint of crunch and chocolate on the outside, these little delights are not just simple to prepare but also highly addictive. Whether you’re making them for the holidays, a party, or just to satisfy a sweet tooth craving, Butterfinger Balls will always steal the spotlight.
This recipe is easy, requires only a few ingredients, and can be customized for different occasions. They are bite-sized pieces of happiness—rich, nutty, chocolatey, and simply irresistible.
Ingredients
- 1 cup peanut butter (creamy or crunchy)
- 1/2 cup butter, softened
- 1 teaspoon vanilla extract
- 1 cup powdered sugar
- 1 1/2 cups crushed Butterfinger candy bars (or similar crunchy chocolate bars)
- 2 cups chocolate chips (milk or semi-sweet, melted for coating)
- Optional: 1 tablespoon shortening or coconut oil (to smoothen chocolate)
Instructions
- In a mixing bowl, combine softened butter and peanut butter until smooth and creamy.
- Add in vanilla extract and mix well.
- Gradually add the powdered sugar, stirring until fully incorporated.
- Fold in the crushed Butterfinger candy bars for that signature crunch.
- Roll mixture into small balls (about 1 inch in diameter) and place them on a parchment-lined baking sheet.
- Refrigerate for at least 30 minutes or until firm.
- Melt chocolate chips (with shortening or coconut oil if desired) in a microwave or double boiler until smooth.
- Dip each chilled peanut butter ball into the melted chocolate, coating it evenly.
- Place back onto the parchment paper and allow chocolate to set.
- Store in the refrigerator until ready to serve.
Methods
- Mixing Method: Blend butter, peanut butter, and sugar thoroughly before adding crunchy candy bits.
- Chilling Method: Ensures the balls hold shape before dipping.
- Coating Method: Use a fork or toothpick to dip and coat evenly in chocolate.
- Storage Method: Store in airtight container in fridge for freshness (lasts up to 10 days).
History
The Butterfinger candy bar was first introduced in 1923 by the Curtiss Candy Company. Its unique crisp, peanut-buttery layers covered in chocolate made it an American favorite. Over time, creative home bakers began incorporating Butterfinger pieces into cookies, pies, and bite-sized candies like these Butterfinger Balls. Today, they’re a classic no-bake dessert loved for their simplicity and flavor.
Benefits
- Quick & Easy: No baking required.
- Kid-Friendly: Children can help with rolling and dipping.
- Customizable: Works with other candy bars too (Snickers, Reese’s, etc.).
- Great for Gifting: Perfect for holiday trays or dessert boxes.
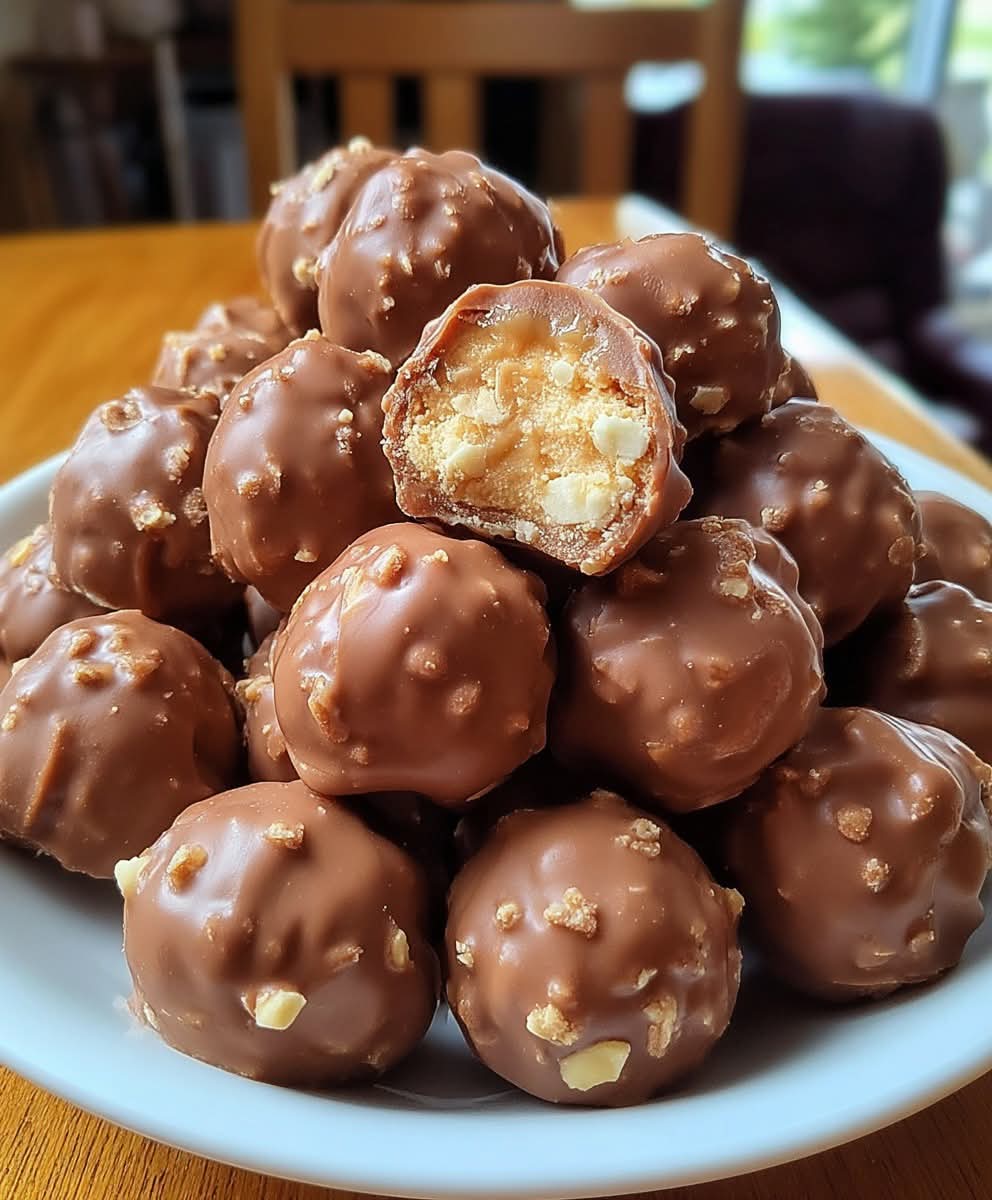
Formation
These little truffle-like candies form into round chocolate-coated bites that look elegant yet are simple enough for everyday snacking. A balance of creamy peanut butter filling + crunchy Butterfinger bits + smooth chocolate coating makes them a textural masterpiece.
Nutrition (per ball, approx.)
- Calories: ~160
- Fat: 9g
- Carbohydrates: 18g
- Protein: 3g
- Sugar: 14g
(Values vary depending on size and chocolate type used.)
Conclusion
Butterfinger Balls are more than just candy—they’re a celebration of flavor and fun. From their humble beginnings with just peanut butter and chocolate to becoming a holiday tradition in many homes, these little treats continue to win hearts everywhere.
Lovers of This Recipe
- Chocolate Lovers: For their rich, melt-in-your-mouth coating.
- Peanut Butter Enthusiasts: For that nutty, creamy core.
- Kids & Families: Fun to make together.
- Holiday Bakers: Ideal for parties, gifting, or dessert platters.
✨ Don’t lose this recipe—once you try these Butterfinger Balls, you’ll find yourself making them over and over again. If you’ve been enjoying these big, detailed recipes, keep coming back because I’ve got plenty more delicious ideas waiting for you!
Would you like me to also create a holiday-themed variation of these (like adding sprinkles, drizzle, or a festive twist), so you can use them for special occasions?